This could've been called "Learning Kubernetes the hard way", because that's basically what I was trying to achieve here. It wasn't so much about learning how to use Kubernetes via its ingenious API as it was about learning about its individual components. If you want to just run Kubernetes locally, there's Minikube, that will give you nice VM with everything already set up.
What I've wanted to achieve is to have a set of components, all nicely isolated with a well defined connection between each other so I can add them, remove them and break the connections and see how this affects the cluster. To put it simply I was interested in Ops side of running Kubernetes. This is why I took Hyperkube and mixed it with docker-compose and tried to stand up Kubernetes "from scratch".
Let's get started..
etcd does a lot of the magic behind the scenes, it is also the first component you need to bring up. I'm running a single instance here, in real multi-master cluster you'd probably run a bunch of these, but one is good enough for us. Here's the relevant part of docker-compose.yml:
services:
    etcd:
        image: "quay.io/coreos/etcd:v3.2"
        networks:
            - etcd
        command:
            - etcd
            - --name=etcd0
            - --advertise-client-urls=http://etcd:2379
            - --listen-client-urls=http://0.0.0.0:2379
            - --initial-advertise-peer-urls=http://etcd:2380
            - --initial-cluster-state=new
        ports:
            - 2379:2379
We're using CoreOS etcd image here, running it on separate etcd
network, so that we can isolate it from other components if needed. We
tell it to advertise itself as http://etcd:2379 (docker name
resolution will take care about that hostname) and to listen on any IP,
which is normally not very secure, but our service is limited to etcd
network anyway. Advertised peer url isn't really important as there is
no peer to handle, but might come handy in later experiments.
Finally we expose the client port to the outside word, which is handy in case we'd like to manually query the service from outside. My intent is to poke Kubernetes and see how it breaks, so this is definitely useful.
Note that there is no mapped volume. The whole configuration is intentionally non-persistent, I want to be able to tear down whole setup fast and start from blank state in seconds. Let me re-iterate that: Don't expect anything deployed in this cluster to survive any period of time, because it won't This is not your production environment. This is not even your Dev environment. It's just experiment, that you will tear down and forget about it.
The heart of Kubernetes. I'm using hyperkube image for this component as the same image can be used for other kube* components. This should save us some downloading and version differences.
kube-apiserver:
  image: "quay.io/coreos/hyperkube:v1.7.6_coreos.0"
  networks:
    - etcd
    - kube-api
  command:
    - kube-apiserver
    - --etcd-servers=http://etcd:2379
    - --insecure_bind_address=0.0.0.0
    - --insecure_port=8080
    - --service-cluster-ip-range=10.244.0.0/16
    - --allow-privileged=true
  ports:
    - 8080:8080
Note that I'm attaching the container to two networks:
etcd: to communicate with etcd API as a clientkube-api: Here's where we're going to expose the Kubernetes API
for other components to connect (most of them don't need separate
connection to etcd, so here we're just separating this to make sure
there aren't any connections we wouldn't be aware of)We're also using insecure bind address, which is obviously not a good idea in production or even development environment, but let's not over-complicate things from get go. The API is exposed at port 8080. (also forwarded externally for easy access with kubectl)
We're also setting cluster ip range (for later if we try to add flannel into the mix) and allow privileged containers for same reason.
This might surprise you a bit, but at this stage we already have kubernetes API up and working! Feel free to connect with kubectl (no auth required) and push configuration. Obviously nothing will really happen, but the configuration will be already there waiting for other components to start up and spin up the services. Already something to work with. Neat huh?
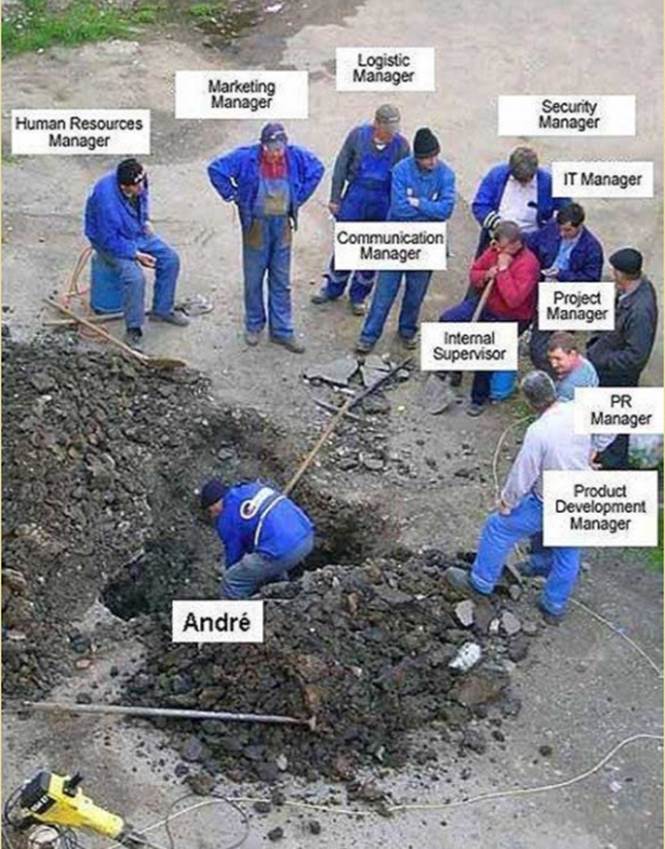
The working class of this whole setup. If you remember the famous picture of workers standing around and looking at the only guy working, kubelet would be our André. In the hole, shovel in hands, digging away.
kubelet:
  image: "quay.io/coreos/hyperkube:v1.7.6_coreos.0"
  privileged: true
  networks:
    - kube-api
  volumes:
    - /var/run/docker.sock:/var/run/docker.sock:rw
    - /usr/local/lib/docker/:/usr/local/lib/docker/
    - /proc/:/rootfs/proc/
    - /var/lib/kubelet:/var/lib/kubelet:shared
  command:
    - kubelet
    - --v=2
    - --address=0.0.0.0
    - --enable-server
    - --api-servers=http://kube-apiserver:8080
    - --port=10250
    - --cluster-domain=cluster.local
    - --cluster-dns=8.8.8.8
    - --allow-privileged=true
There are few things to note. First it is only connected to kube-api
network. Which means, that kube-apiserver is it's only contact with
rest of the cluster. Kubernetes API is the only way to tell kubelet
what to do.
Second, we're also mounting in couple volumes. Mostly to let kubelet actually spin up Docker containers.
Third, we do provide some DNS and domain options. These are used to spin up the containers and you might want to adapt it to your environment. (once you get SkyDNS working, you might want ot point to that one for example)
And finally, (you might not even noticed that) is the fact, that nothing happened. If you tried to push in some pod configuration, kubelet didn't start any pods. Why? Well, you see kubelet is a bit like that André guy. He makes things happen and he actually "physically" does stuff, but he needs to be told to.. He's not very smart you see? And that's Okay, he isn't supposed to be. That's why we're going to start our next service..
Kube-scheduler.. ..well.. ..schedules work to be done. It will assign pods to Kubelet (our André guy) besides other things.
kube-scheduler:
  image: "quay.io/coreos/hyperkube:v1.7.6_coreos.0"
  networks:
    - kube-api
  command:
    - kube-scheduler
    - --master=http://kube-apiserver:8080
This one is extremely simple, it just needs to talk to kube-apiserver and nothing else. Like a manager using his email client to manage the team. Once you start it, things will start to happen - kubelet will bring up the requested pods, you'll see containers running. When it's not running, all is good, everything will continue running as it is. The problem only rises when you want to change status of your cluster (starting a new service for example) or it is changed due to external influence. (e.g. one of the kubelet nodes dies) Without scheduler running no changes will take place, cluster won't react to any outages. Component set up might be simple, but it's very critical part of the cluster. Closely related to scheduler is..
kube-controller-manager manages higher level control loop within the cluster. This guy will marry service and pods to create endpoints (and update them as situation changes), it will handle replication and handful of other things. If kube-scheduler is the team manager, KCM is his boss doing higher level planning.
kube-controller-manager:
  image: "quay.io/coreos/hyperkube:v1.7.6_coreos.0"
  networks:
    - kube-api
  command:
    - kube-controller-manager
    - --master=http://kube-apiserver:8080
Again, very simple configuration. Once you have this service running, replication will start to work, if you had some services defined, they will finally get the endpoints assigned and will be in working state.
There's just one more basic thing missing - our services aren't reachable from outside the cluster. This is where next component comes in:
If you want to expose services running in the Kubernetes cluster to the outside word, kube-proxy is your friend. In our simple configuration, we're just letting it expose the services on host machine interface.
kube-proxy:
  image: "quay.io/coreos/hyperkube:v1.7.6_coreos.0"
  network_mode: host
  privileged: true
  command:
    - kube-proxy
    - --master=http://localhost:8080
    - --proxy-mode=userspace
There are few things to note here. We're running the service with host networking enabled, so that it can work directly with the host interface and expose the services to the outside word. We're also running it privileged so it can configure iptables if needed. Finally we're forcing userspace proxy mode, which is the simplest one. (basically spinning up a process to forward connection for the service)
So now we have our cluster up and running. It is certainly quite basic, but you can already use it for most of the stuff. You can now start breaking the components, trying different configuration and see what will happen. Watch the log output, it's quite helpful even if maybe a bit too verbose.
I'm just going to recap the whole compose file, so you can copy-paste it if you're too impatient to start one component at a time. (I'd still recommend trying that to see how components behave in partially started cluster)
version: '2'
networks:
    etcd:
    kube-api:
services:
    etcd:
        image: "quay.io/coreos/etcd:v3.2"
        networks:
            - etcd
        command:
            - etcd
            - --name=etcd0
            - --advertise-client-urls=http://etcd:2379
            - --listen-client-urls=http://0.0.0.0:2379
            - --initial-advertise-peer-urls=http://etcd:2380
            - --initial-cluster-state=new
        ports:
            - 2379:2379
    kube-apiserver:
        image: "quay.io/coreos/hyperkube:v1.7.6_coreos.0"
        networks:
            - etcd
            - kube-api
        command:
            - kube-apiserver
            - --etcd-servers=http://etcd:2379
            - --insecure_bind_address=0.0.0.0
            - --insecure_port=8080
            - --service-cluster-ip-range=10.244.0.0/16
            - --allow-privileged=true
        ports:
            - 8080:8080
    kubelet:
        image: "quay.io/coreos/hyperkube:v1.7.6_coreos.0"
        privileged: true
        networks:
            - kube-api
        volumes:
            - /var/run/docker.sock:/var/run/docker.sock:rw
            - /usr/local/lib/docker/:/usr/local/lib/docker/
            - /proc/:/rootfs/proc/
            - /var/lib/kubelet:/var/lib/kubelet:shared
        command:
            - kubelet
            - --v=2
            - --address=0.0.0.0
            - --enable-server
            - --api-servers=http://kube-apiserver:8080
            - --port=10250
            - --cluster-domain=cluster.local
            - --cluster-dns=8.8.8.8
            - --allow-privileged=true
    kube-controller-manager:
        image: "quay.io/coreos/hyperkube:v1.7.6_coreos.0"
        networks:
            - kube-api
        command:
            - kube-controller-manager
            - --master=http://kube-apiserver:8080
    kube-scheduler:
        image: "quay.io/coreos/hyperkube:v1.7.6_coreos.0"
        networks:
            - kube-api
        command:
            - kube-scheduler
            - --master=http://kube-apiserver:8080
    kube-proxy:
        image: "quay.io/coreos/hyperkube:v1.7.6_coreos.0"
        network_mode: host
        privileged: true
        command:
            - kube-proxy
            - --master=http://localhost:8080
            - --proxy-mode=userspace
Enjoy and let me know if I made any mistake somewhere, I'm always eager to learn something new.
This article is part of Linux category. Last 17 articles in the category:
You can also see all articles in Linux category or subscribe to the RSS feed for this category.